
Ultimate Red Velvet Cookies for Irresistible Sweet Moments
Last Updated on March 13, 2026 by Miguel
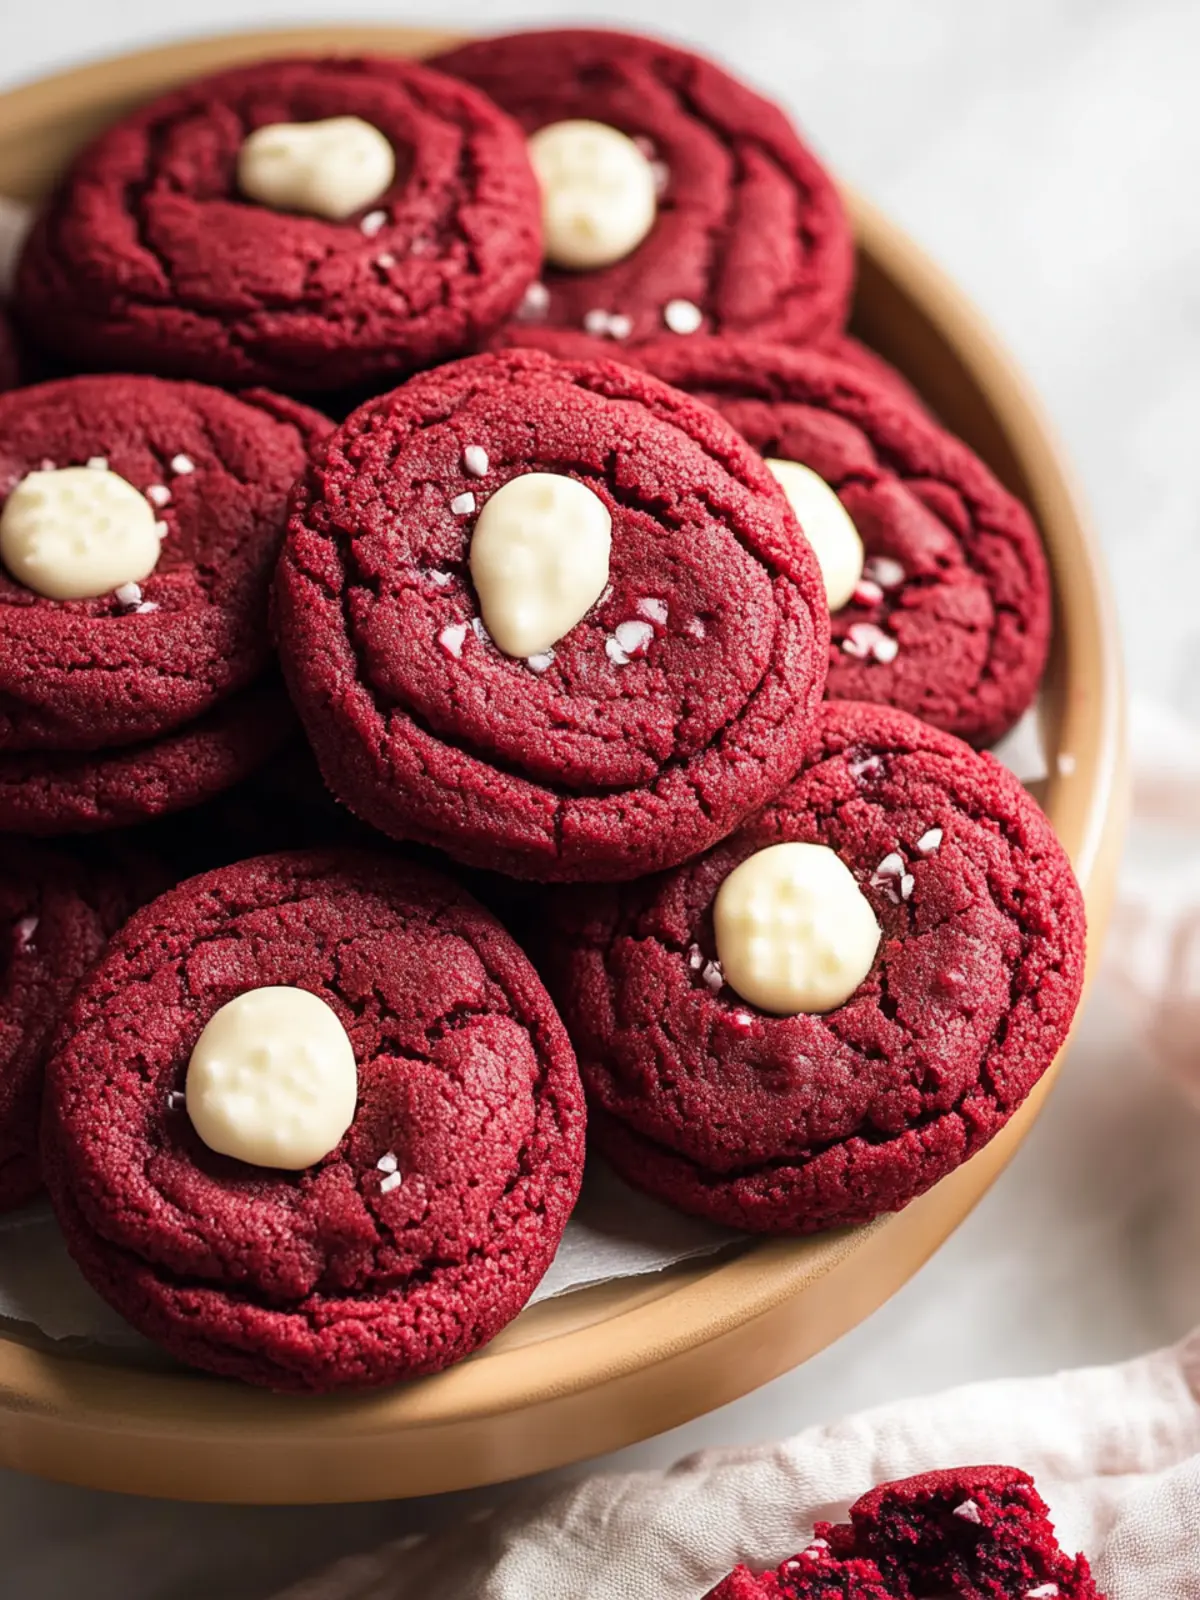
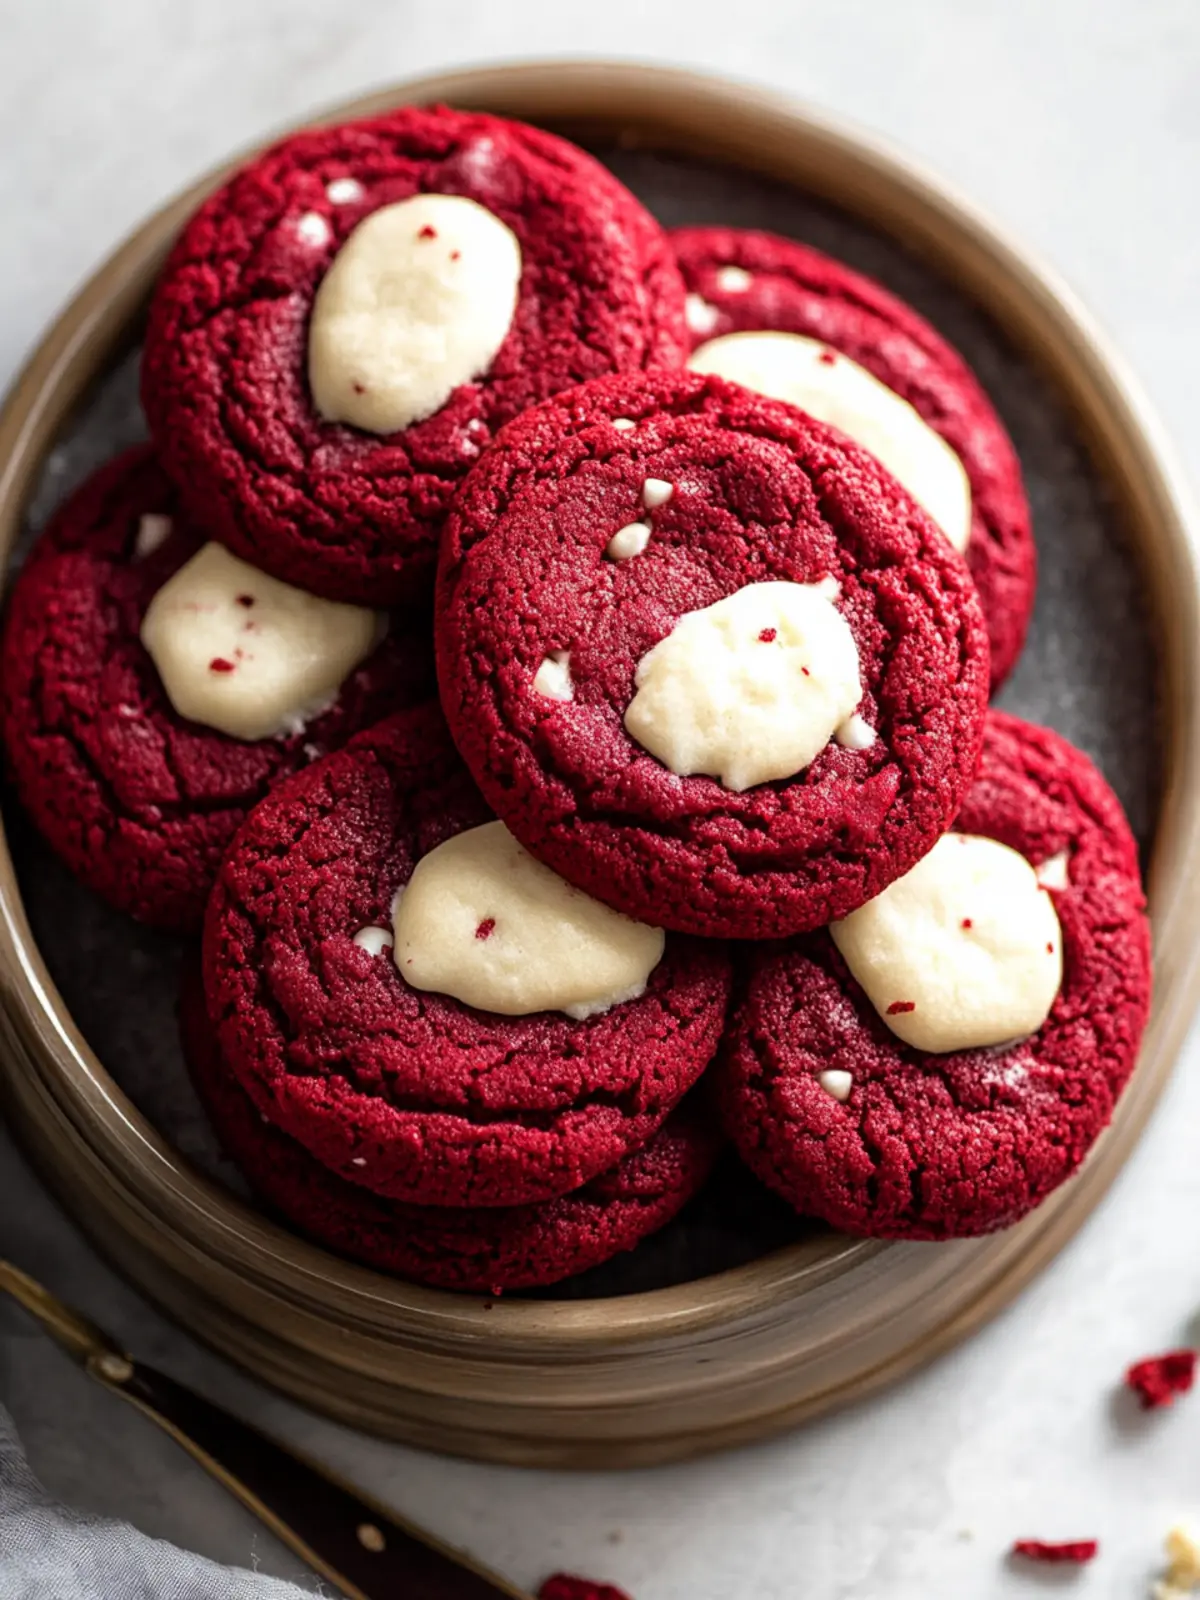
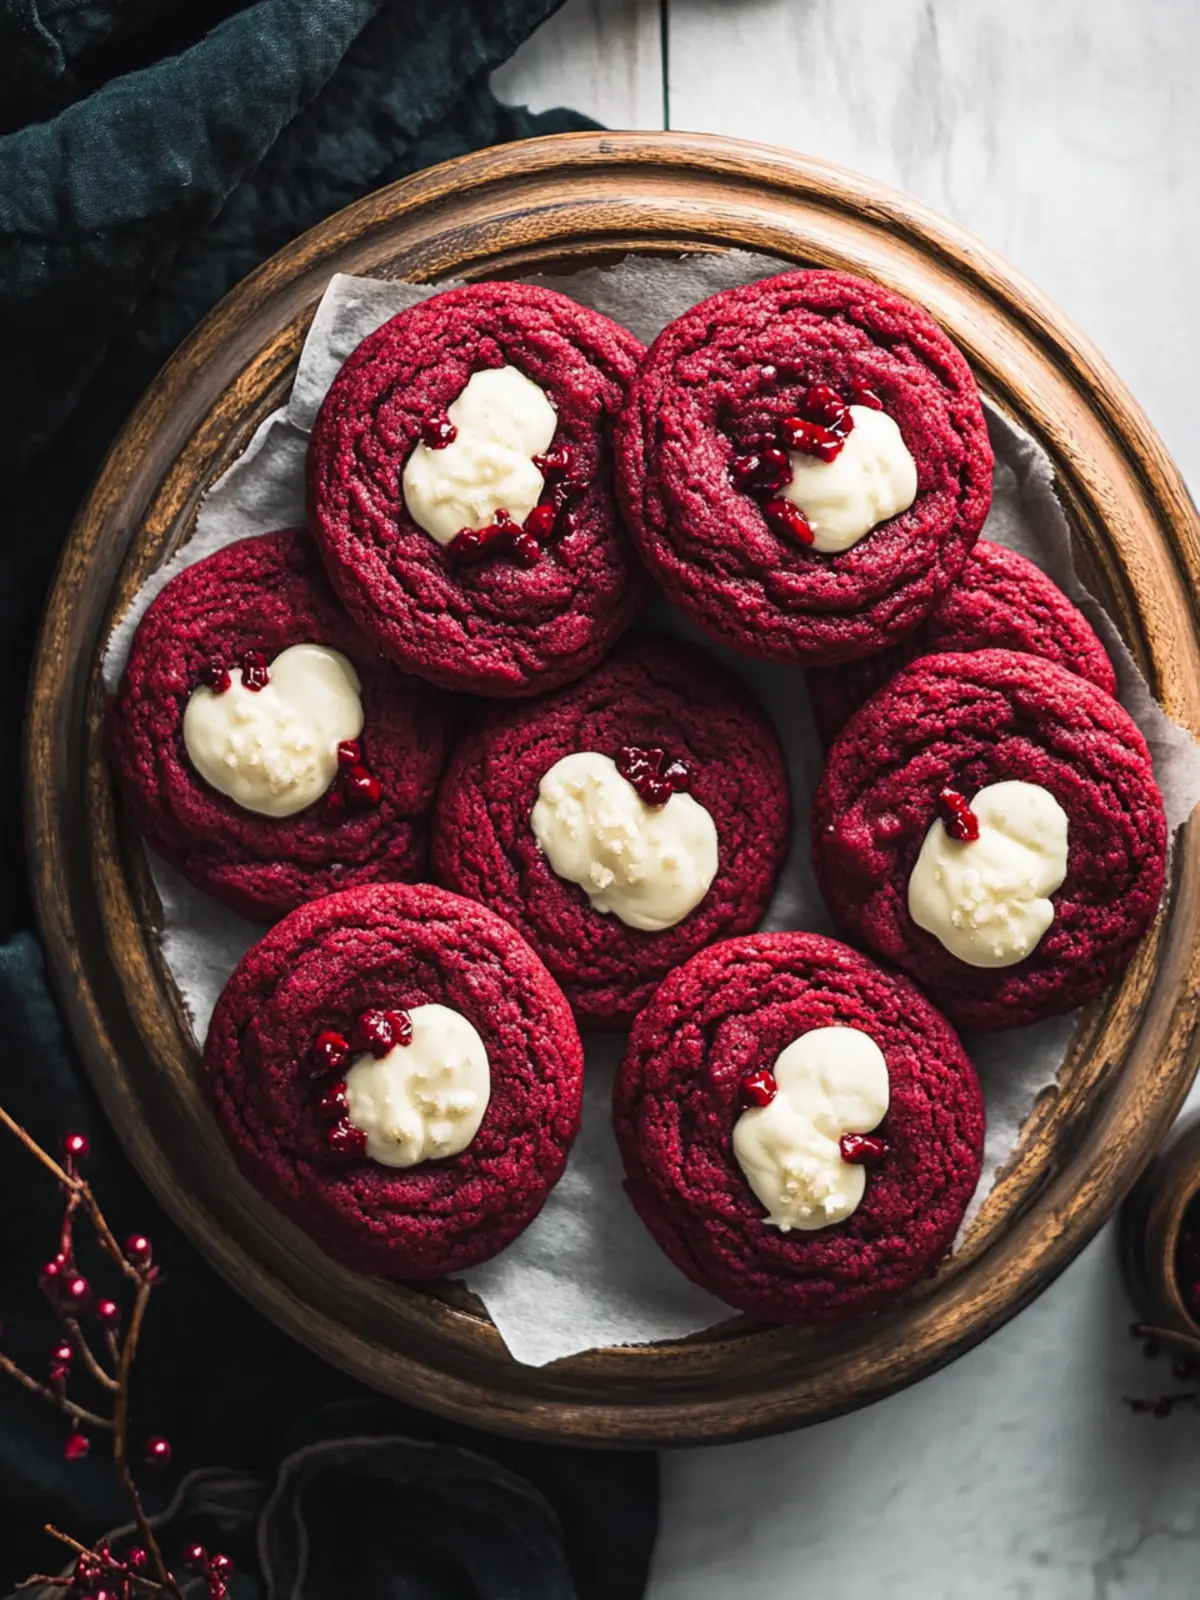
When the festive season rolls around, my kitchen transforms into a hub of joyous baking. This year, I couldn’t resist the allure of making Red Velvet Cookies — soft, chewy, and a stunning crimson hue that makes everything feel extra special. The rich hint of cocoa and a touch of buttermilk create a flavor profile that dances on your palate, making each bite a delightful treat.
You won’t believe how easy these cookies are to whip up! Perfect for holiday gatherings, Valentine’s Day, or simply as a well-deserved indulgence after a long day, their vibrant color and taste are sure to impress your family and friends. And the best part? You can master this recipe even if you’ve never baked before! So, roll up your sleeves and let’s dive into the world of these exceptional Red Velvet Cookies that are bound to become a new favorite in your baking repertoire.
Why are Red Velvet Cookies a must-try?
Irresistible sweetness: These cookies deliver the perfect balance of sugar and cocoa, creating a flavor that’s both indulgent and satisfying.
Vibrant color: Their stunning red hue makes them visually striking, ensuring they stand out on any dessert table.
Easy baking: Even if you’re new to baking, these cookies are straightforward to make and require no complex techniques.
Versatile delight: Ideal for festive occasions, they’re also excellent for casual snacking or thoughtful gifts.
Quick bake time: With just 10-12 minutes in the oven, you’ll enjoy fresh-baked cookies in no time, perfect for last-minute guests.
Serve warm: Experience the delightful, gooey texture by enjoying them fresh from the oven, paired with a glass of milk or coffee!
Red Velvet Cookies Ingredients
These delicious Red Velvet Cookies are simple to make, so gather your ingredients and let’s get baking!
For the Cookie Dough
• All-purpose flour – Essential for cookie formation; you can use gluten-free flour for a gluten-free version.
• Cocoa powder – Provides the rich chocolate flavor that red velvet is known for; Dutch-processed cocoa offers a milder twist.
• Baking soda – Acts as a leavening agent, ensuring the cookies rise perfectly; make sure it’s fresh for the best results.
• Salt – Balances the sweetness and enhances flavor; opt for kosher salt for a more subtle taste.
• Unsalted butter – Adds richness and moisture for a chewy texture; you can substitute with vegan butter for a dairy-free option.
• Granulated sugar – The primary sweetener; brown sugar can enhance moisture and depth.
• Brown sugar – Adds additional sweetness and a chewy texture; both light and dark varieties work well.
• Eggs – Help bind the ingredients together; for a vegan option, flax eggs can be used.
• Buttermilk – Contributes moisture and tanginess, essential for the cookie’s flavor; homemade buttermilk is easy to make with milk and vinegar.
• Red food coloring – Creates the signature vivid red hue; gel food coloring is recommended for a more vibrant impact.
• Vanilla extract – Provides warmth and depth of flavor; pure vanilla extract will enhance the taste further.
Enjoy creating these festive Red Velvet Cookies that are sure to bring a smile to everyone who tastes them!
How to Make Red Velvet Cookies
Preheat: Set your oven to 350°F (175°C) to prepare for baking those dreamy cookies. A properly preheated oven ensures they bake evenly and rise beautifully.
Mix Dry Ingredients: In a large bowl, whisk together the all-purpose flour, cocoa powder, baking soda, and salt. This combines your dry elements and helps evenly distribute the leavening agent.
Cream Butter and Sugars: In a separate bowl, beat the softened unsalted butter, granulated sugar, and brown sugar together until light and fluffy. This process should take about 2-3 minutes and adds air for a tender cookie texture.
Add Eggs and Vanilla: Mix in the eggs, buttermilk, and vanilla extract until fully combined. Your mixture should be smooth and slightly glossy, promising rich flavor in every bite.
Incorporate Dry Ingredients: Gradually add the dry mixture to the wet ingredients, blending until just combined. Avoid overmixing to keep them soft and chewy.
Add Food Coloring: Gently fold in the red food coloring until you achieve your desired hue. The vibrant color is what makes these cookies truly special!
Chill Dough (optional): For optimal results, chill the dough in the refrigerator for about 30 minutes. This helps prevent the cookies from spreading too much while baking.
Scoop and Bake: Using a cookie scoop, drop rounded balls of dough onto a prepared baking sheet. Bake for 10-12 minutes until the edges are set, but the centers are still soft.
Cool: Let the cookies cool on the baking sheet for a few minutes before transferring them to a wire rack. This cooling time allows them to firm up while maintaining that gooey center.
Optional: Dust with powdered sugar for a festive touch before serving.
Exact quantities are listed in the recipe card below.
What to Serve with Red Velvet Cookies?
Nothing beats the delightful comfort of a freshly baked treat paired with the perfect sides.
- Creamy Vanilla Ice Cream: A scoop of creamy vanilla ice cream provides a delightful contrast to the chewy cookies, enhancing that indulgent experience.
- Fresh Berries: Serve with strawberries or raspberries for a pop of freshness that balances the sweetness and adds a vibrant splash of color.
- Glass of Cold Milk: There’s something nostalgic about enjoying cookies with a glass of cold milk, making every bite even more satisfying.
- Chocolate Dipping Sauce: Create a decadent experience by drizzling warm chocolate sauce over the cookies for that extra indulgence.
- Rich Coffee: Pair with a cup of rich coffee to balance the sweetness, adding a hint of bitterness that elevates the overall flavor.
- Cream Cheese Frosting: For a truly indulgent treat, sandwich two cookies with a dollop of creamy frosting for a luxurious dessert.
- Sweet Tea: Bring in a refreshing note with a tall glass of sweet tea, offering a delightful contrast to the rich cookies.
- Mini Cheesecakes: Serve as a dual dessert spread; mini cheesecakes complement the flavor profile beautifully and add elegance to your dessert table.
- Sparkling Water: Keep it simple and refreshing with sparkling water, which cleanses the palate between bites and balances the sweetness.
Red Velvet Cookies Variations
Embrace your creativity and customize these delightful cookies to suit your taste!
Gluten-Free: Use gluten-free all-purpose flour instead of regular flour for a delicious gluten-free version without sacrificing taste.
Vegan Delight: Substitute unsalted butter with vegan butter and use flax eggs instead of regular eggs for a plant-based treat.
Nutty Flavor: Swap half of the all-purpose flour for almond flour to add a nutty flavor and a slightly coarse texture.
Extra Richness: Incorporate white chocolate chips or chunks into the dough for a creamy contrast to the rich red velvet flavor.
Cream Cheese Bliss: For a decadent twist, sandwich your cookies with cream cheese frosting for a delightful filling that echoes classic red velvet cake.
Spicy Kick: Add a pinch of cayenne pepper or cinnamon for a subtle warm spice that enhances the overall taste and adds depth.
Chocolate Boost: Fold in some chocolate chips for an extra chocolaty experience that will satisfy all the chocolate lovers in your life.
Nut-Free Option: Instead of almond flour, stick to all-purpose flour and consider adding ground oats for a chewy, wholesome texture without nuts.
Expert Tips for Red Velvet Cookies
- Chill the Dough: Ensure to chill your dough for at least 30 minutes; this helps prevent the cookies from spreading too much during baking.
- Measure Accurately: Always measure your ingredients precisely. Too much flour or butter can lead to flat Red Velvet Cookies that miss the chewy goodness.
- Use Gel Food Coloring: For the richest color without compromising texture, opt for gel food coloring instead of liquid. It gives that vibrant red hue!
- Fresh Ingredients: Make sure your baking soda is fresh; old leavening agents won’t provide the lift your cookies need for optimal softness.
- Rotate Your Baking Sheet: Halfway through baking, rotate the baking sheet for even baking. This helps achieve that delightful, chewy texture all around.
- Store Properly: Keep cookies in an airtight container at room temperature for up to 3 days. For longer storage, freeze them to retain freshness.
How to Store and Freeze Red Velvet Cookies
Room Temperature: Store cookies in an airtight container at room temperature for up to 3 days to maintain their soft, chewy texture.
Freezer: For longer storage, freeze cookies in a single layer on a baking sheet, then transfer to a freezer-safe bag for up to 2 months.
Thawing: To enjoy frozen Red Velvet Cookies, simply thaw them at room temperature for about 30 minutes before serving.
Reheating: If you prefer warm cookies, microwave them for about 10-15 seconds to bring back their delicious gooeyness.
Make Ahead Options
These Red Velvet Cookies are perfect for meal prep, allowing you to save time during busy weeks! You can prepare the cookie dough up to 24 hours in advance by mixing all the ingredients and refrigerating it in an airtight container. This chilling period also enhances the cookie flavor, allowing spices to meld beautifully. For even longer storage, form the dough into balls and freeze them for up to 2 months. When you’re ready to bake, simply place the frozen dough on a baking sheet and add a couple of extra minutes to the baking time. Rest assured, your cookies will come out just as delicious and vibrant, making your busy days a lot sweeter!
Red Velvet Cookies Recipe FAQs
What type of cocoa powder should I use for Red Velvet Cookies?
For a classic flavor, I recommend using Dutch-processed cocoa powder. It offers a milder flavor that beautifully complements the tanginess of the buttermilk. Avoid regular cocoa powder as it has a more robust bitterness that might overshadow your cookie’s sweetness.
How should I store Red Velvet Cookies, and for how long?
Store your Red Velvet Cookies in an airtight container at room temperature for up to 3 days. This helps keep them soft and chewy. If you can’t finish them that quickly, consider freezing them. They can last up to 2 months in the freezer if stored properly in a freezer-safe bag or container.
Can I freeze the cookie dough before baking?
Absolutely! To freeze cookie dough, scoop individual rounded balls onto a baking sheet lined with parchment paper. Freeze them until solid, then transfer to a freezer-safe bag. They will keep for up to 3 months. When you’re ready to bake, simply bake from frozen, adding an extra minute or two to the baking time.
How do I know if my Red Velvet Cookies are done baking?
The edges should be set and slightly firm, while the centers should still appear soft and a little underbaked as they will continue to firm up while cooling. If you see the cookies puffing up slightly, that’s a great indication they are on the right track!
What can I substitute if I have a dairy allergy?
For a dairy-free option, you can use almond milk or soy milk mixed with a teaspoon of vinegar as a substitute for buttermilk. Additionally, substitute unsalted butter with vegan butter or coconut oil. Just ensure all your other ingredients, like the red food coloring and vanilla extract, are dairy-free as well.
What if my cookies spread too much while baking?
If your cookies spread too much, it may be due to warm dough or incorrect measurements. Make sure to chill your dough for at least 30 minutes before baking. Also, accurately measuring your flour and butter is crucial; too much butter can lead to overly flat cookies. If this happens, try adding a bit more flour to your dough for stability next time!