
Quick & Easy Sheet Pan Breadsticks That Everyone Will Love
Last Updated on March 13, 2026 by Miguel
When the hustle and bustle of the week leaves you craving something warm and comforting, there’s nothing quite like the allure of fresh-baked breadsticks to lift your spirits. Imagine the heavenly aroma of garlic wafting through your kitchen as you whip up these Quick & Easy Garlic Sheet Pan Breadsticks. With just a handful of simple ingredients and minimal prep time, you’ll have delectable, golden-brown treats ready in no time.
These breadsticks are the perfect accompaniment to your favorite soups or salads, or simply enjoyed on their own as a savory snack. What I adore most is their freezable nature—make a batch today, and you’ll have your future self thanking you when a bread craving strikes! Whether you’re entertaining guests or simply treating yourself, these delightful breadsticks will impress with their tender chewy texture and rich flavor. Let’s dive into this effortless recipe that transforms your weeknight dinners from ordinary to extraordinary!
Why are these Quick & Easy Sheet Pan Breadsticks a must-try?
Deliciously comforting: The warm, buttery garlic aroma will envelop your home, making it impossible to resist tasting these right out of the oven.
Minimal effort: With just a handful of simple ingredients and quick prep, you can whip up these breadsticks faster than any delivery option.
Versatile pairing: Perfectly complements hearty soups, fresh salads, or even as a satisfying stand-alone snack.
Future-friendly: Make a double batch and freeze for a quick fix on busy nights—your future self will be grateful!
Crowd-pleasing: They’re always a hit at gatherings, bringing everyone together for that comforting, homemade touch.
Quick & Easy Sheet Pan Breadsticks Ingredients
For the Dough
• Warm Water – Activates the yeast; ensure it’s between 105°F – 115°F for best results.
• Granulated Sugar – Feeds the yeast for fermentation; honey or agave can be used as substitutes.
• Salt – Essential for flavor; it regulates yeast activity as well.
• Yeast – Provides leavening and texture; instant or active dry yeast works perfectly.
• All-Purpose Flour – Forms the dough’s structure; for a nuttier taste, use whole wheat flour instead.
• Melted Butter – Adds richness; half is greasing the pan and half is brushed on top. Olive oil serves as a lighter alternative.
For the Toppings
• Parmesan Cheese (finely grated) – Enhances flavor; swap for pecorino or omit for a dairy-free option.
• Garlic Salt – Imparts garlic flavor; fresh minced garlic can be used for more intensity.
• Italian Seasoning – Lends complexity; homemade blends or herbs like oregano work well.
These Quick & Easy Sheet Pan Breadsticks come together effortlessly and are sure to elevate any meal!
How to Make Quick & Easy Sheet Pan Breadsticks
Activate Yeast: In a large bowl, combine warm water, yeast, sugar, and salt. Let this mixture rest for 5-10 minutes until it becomes bubbly and frothy, ensuring your yeast is active and ready to work its magic.
Prepare Dough: Gradually add flour while using a dough hook to mix until a loose ball of dough forms. Cover the bowl with a cloth and let it rise for 30-45 minutes, or until it has doubled in size, creating that lovely texture.
Preheat Oven: Preheat your oven to 350°F. Prepare a sheet pan by lining it with parchment paper for easy cleanup and to ensure your breadsticks won’t stick.
Shape Dough: Melt half of the butter and pour it into your pan. Then, press the dough from the center outward until it fully covers the pan. Pour the remaining butter over the top to soak in that rich flavor.
Add Toppings: Evenly sprinkle the dough with finely grated Parmesan, garlic salt, and Italian seasoning so that every bite is infused with delightful flavors.
Final Rise: Let your beautifully topped dough sit for 15-20 minutes to rise again. This step is essential for achieving that perfect pillowy texture.
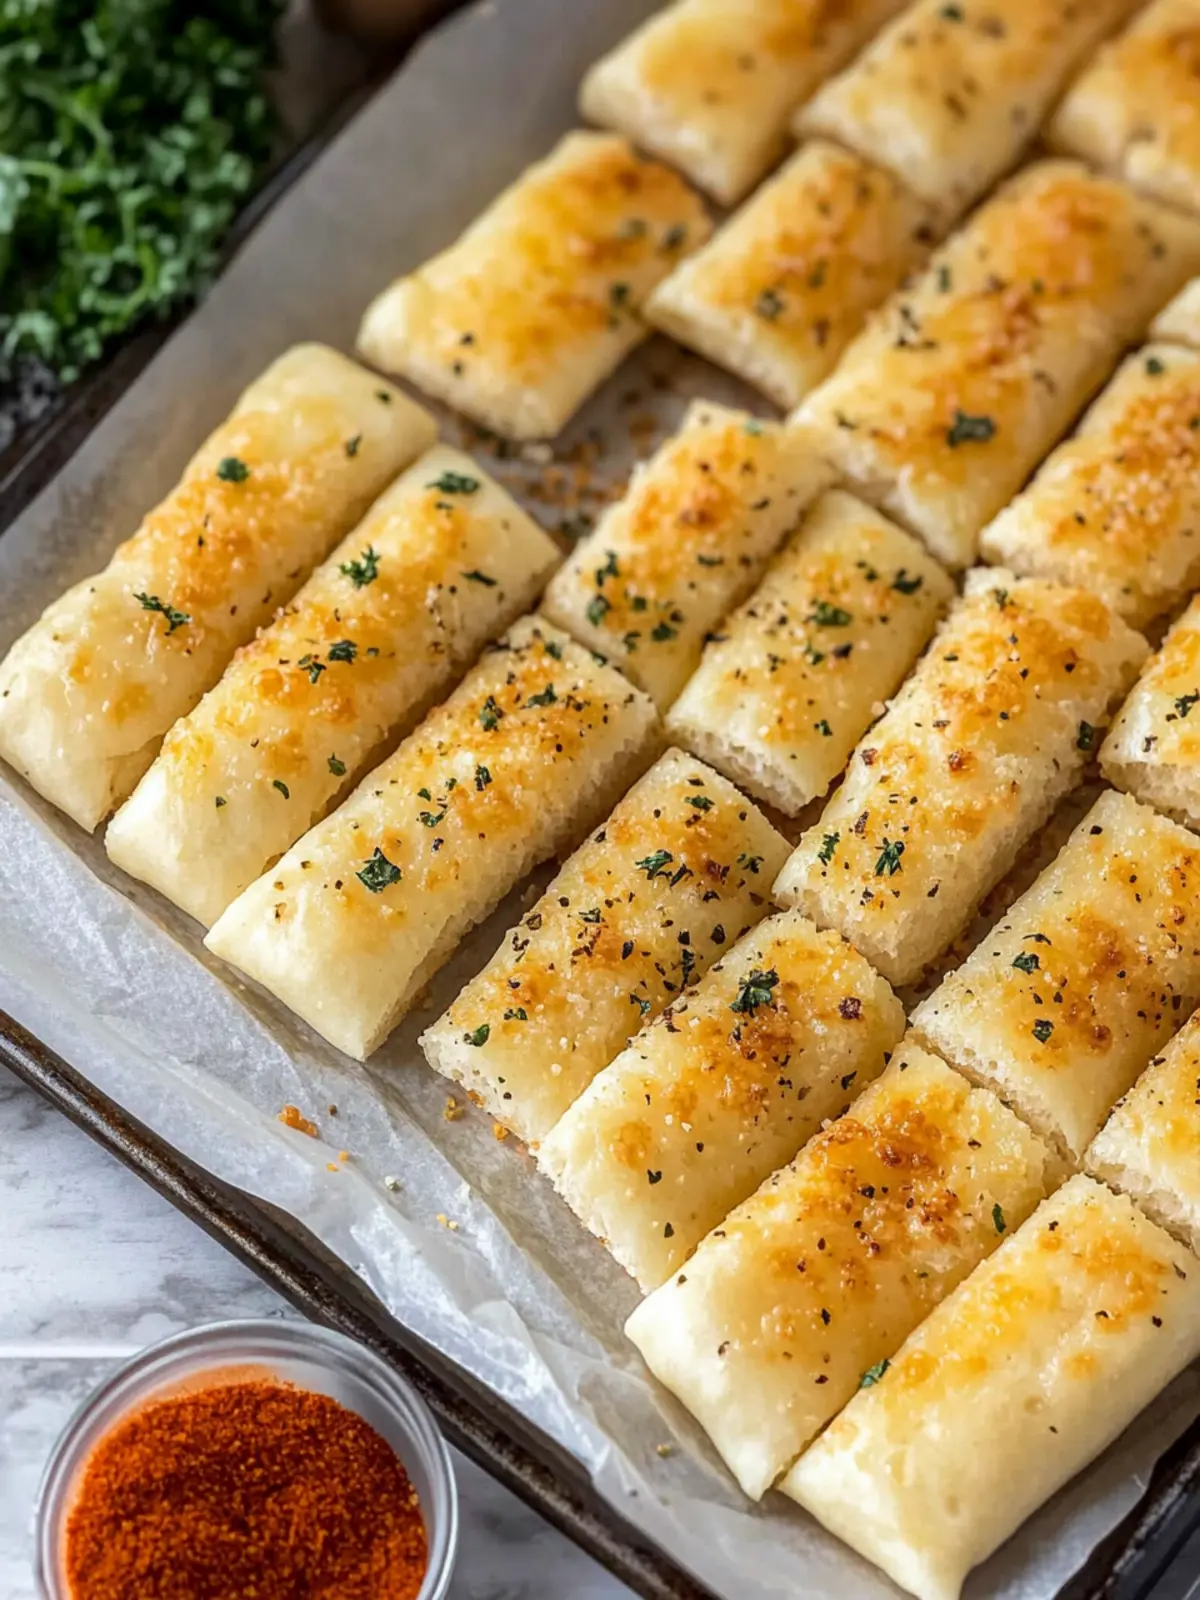
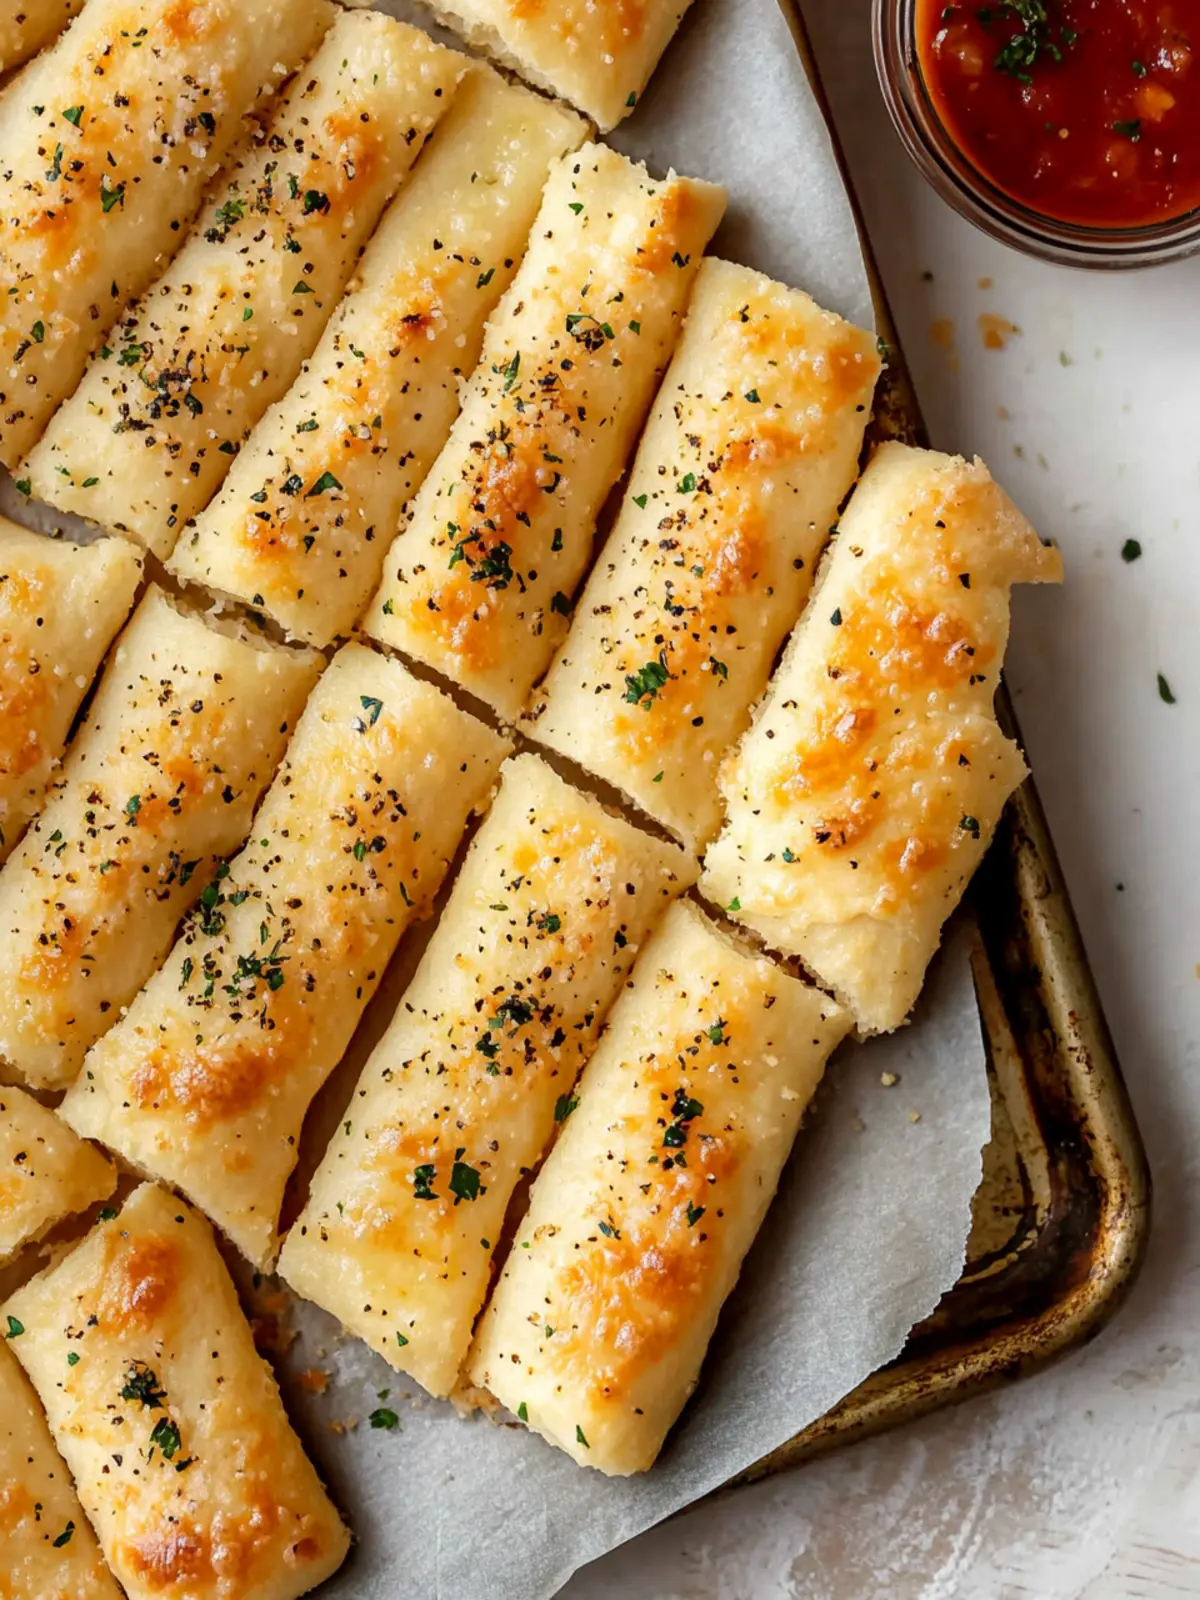
Cut and Bake: Using a pizza cutter, slice the dough into your desired breadstick sizes. Bake for 18-20 minutes, or until the edges turn golden brown, filling your kitchen with mouthwatering aromas.
Cool: Once baked, allow the breadsticks to cool slightly before serving, as patience makes for a more enjoyable bread experience!
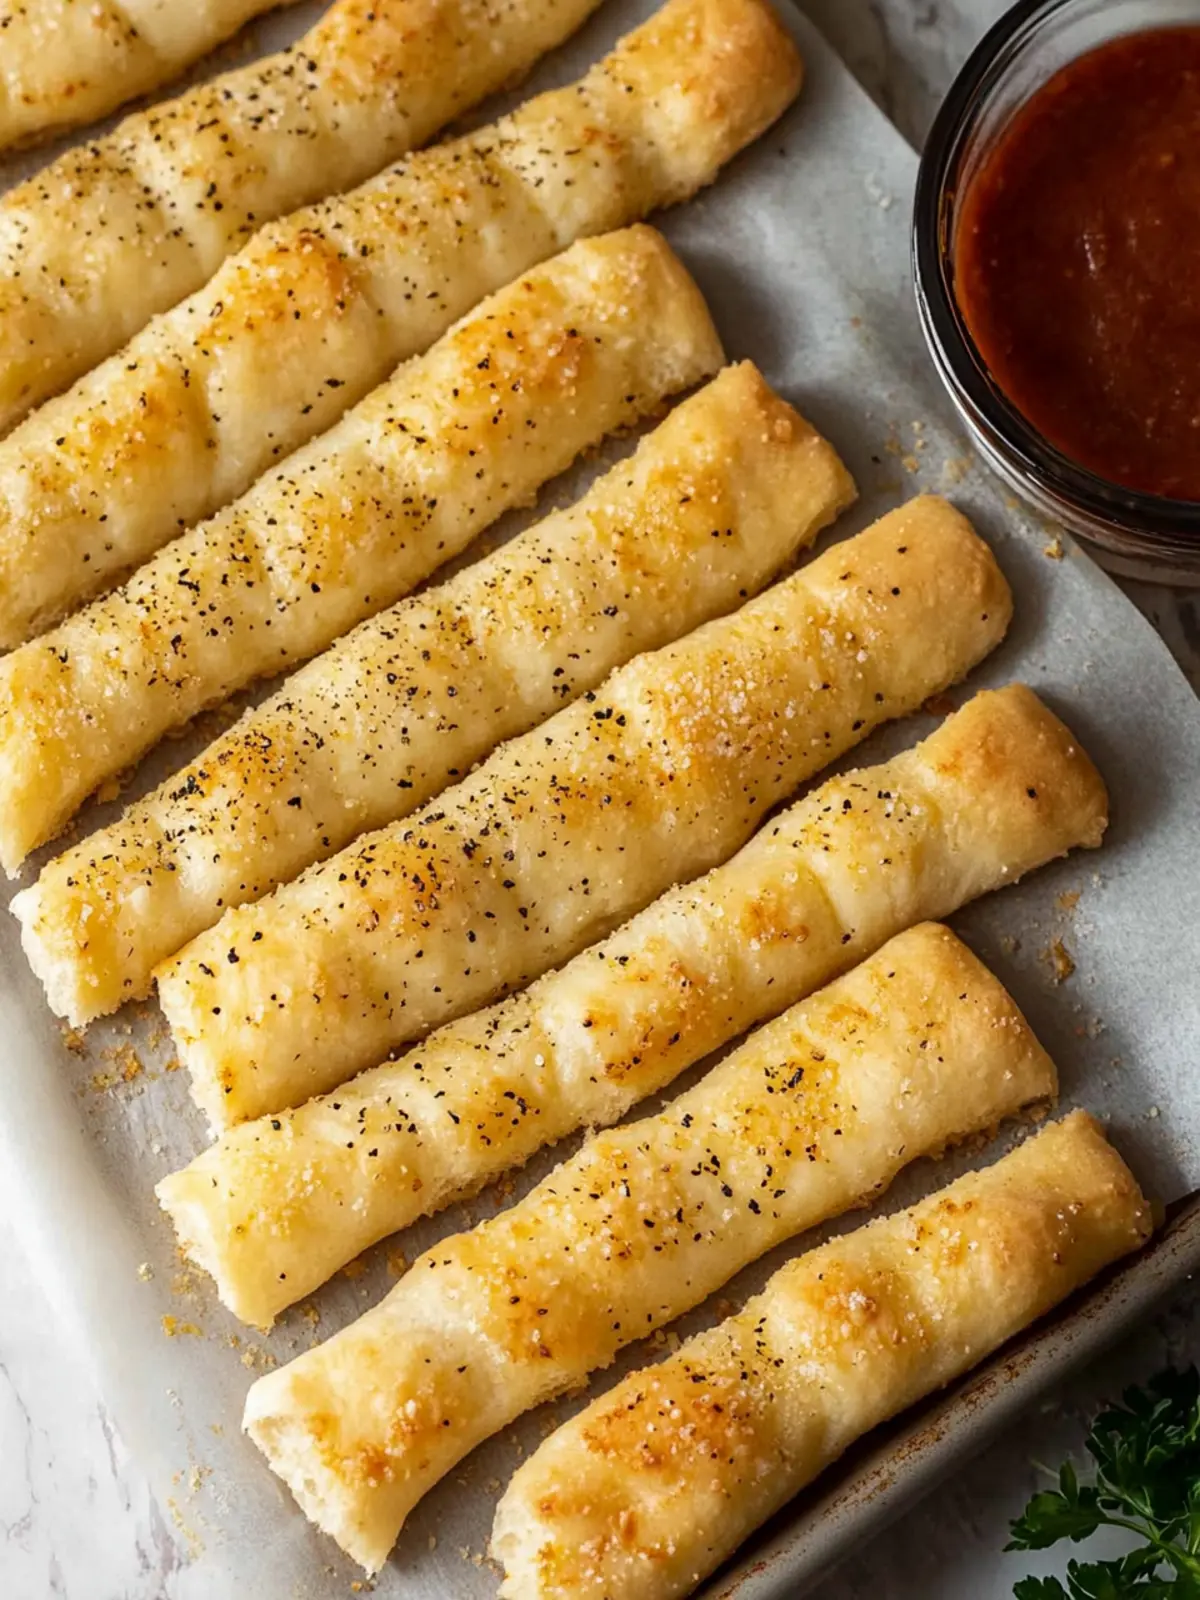
Optional: Serve with a side of marinara sauce for a delicious dipping experience.
Exact quantities are listed in the recipe card below.
Storage Tips for Quick & Easy Sheet Pan Breadsticks
Room Temperature: Store any leftover breadsticks in an airtight container at room temperature for up to 1 week, keeping them soft and ready to enjoy.
Freezer: For longer storage, wrap breadsticks in plastic wrap and place them in a freezer-safe bag. They’ll keep well for up to 3 months—perfect for those future cravings!
Thawing: To enjoy frozen breadsticks, simply remove them from the freezer and thaw at room temperature for a couple of hours or overnight in the fridge.
Reheating: Preheat your oven to 350°F to reheat. Bake for about 10-15 minutes to revive their warm, chewy goodness and delightful garlic flavor!
Expert Tips for Quick & Easy Sheet Pan Breadsticks
Temperature Check: Ensure your warm water is between 105°F – 115°F to activate the yeast properly. Too hot can kill it; too cool may not activate it.
Proper Proofing: Allow the dough to rise adequately; this step is crucial for achieving the perfect fluffy texture in your Quick & Easy Sheet Pan Breadsticks.
Don’t Overbake: Keep an eye on your breadsticks while they bake. You want them golden at the edges, but overbaking can lead to a dry product.
Customize Flavors: Feel free to mix fresh garlic or herbs directly into the dough for an extra flavor boost and elevate your breadsticks to the next level.
Storage Savvy: If you have leftovers, store them in an airtight container at room temperature for up to one week, or freeze for up to three months for a quick future treat!
Make Ahead Options
These Quick & Easy Sheet Pan Breadsticks are a fantastic option for busy cooks looking to simplify mealtime! You can prepare the dough up to 24 hours in advance; simply follow the instructions up to shaping the dough, then cover and refrigerate it instead of allowing it to rise at room temperature. When you’re ready to bake, let the dough come to room temperature for about 30 minutes before adding toppings and baking as directed. Additionally, you can freeze the baked breadsticks for up to three months—just let them cool, then store in an airtight container or freezer bag. When cravings hit, reheat them directly from the freezer in the oven for perfectly warm, soft breadsticks, just as delicious as when they were freshly made!
Quick & Easy Sheet Pan Breadsticks Variations
Feel free to get creative and tailor these breadsticks to your taste, enhancing flavors and textures with delightful twists!
Herb-Infused: Add fresh minced herbs like rosemary or thyme to the dough for a fragrant punch in every bite. Imagine savoring it with a hint of garden-fresh goodness.
Cheesy Delight: Swap in mozzarella for Parmesan for an ooey-gooey, stretchy texture that kids and cheese lovers will adore!
Spicy Kick: Mix in a pinch of red pepper flakes into the dough for a delightful heat that enlivens the breadsticks, making them perfect for spicy food lovers.
Whole Grain Goodness: Substitute all-purpose flour with whole wheat flour for a nuttier taste and added health benefits. They’ll have a rustic charm that’s hard to resist!
Garlic Lovers’ Dream: Incorporate roasted garlic into the dough for a deeper, richer garlic flavor that will send your taste buds dancing with joy.
Savory Parmesan Crust: Top with additional grated Parmesan before baking to create a crispy, cheesy crust—a crowd-pleaser that adds an extra flavor dimension.
Sweet Twist: Drizzle a little honey over the breadsticks after baking for a sweet, savory snack that redefines comfort food. Perfect for serving alongside a cheese platter!
Dairy-Free Option: Omit the cheese and use olive oil instead of butter for a delicious, plant-based alternative that doesn’t skimp on flavor.
What to Serve with Quick & Easy Sheet Pan Breadsticks?
Enhance your meal with delightful accompaniments that complement the rich flavors of these warm, chewy breadsticks.
Creamy Tomato Soup: The rich, velvety texture of tomato soup pairs beautifully, inviting you to dip and savor every bite.
Garlic Butter Shrimp: The added garlic kick matches the breadsticks while introducing succulent seafood—a perfect dinner duo.
Mixed Green Salad: Fresh greens tossed with a tangy vinaigrette provide a refreshing contrast, balancing the hearty flavors perfectly.
Lasagna: A classic Italian favorite, layered with meat and cheese, this dish creates a comforting, fulfilling meal alongside the breadsticks.
Marinara Sauce: An ideal dipping companion, its zesty flavor elevates the experience and is a must-try for breadstick lovers.
Sautéed Spinach: Lightly seasoned sautéed spinach offers a nutritious, vibrant addition that brightens your plate and palate.
Parmesan Crusted Chicken: The cheesy, savory notes in this dish resonate with the breadsticks, creating a wonderfully cohesive meal.
Each of these pairings is designed to enrich your dining experience, making every bite of your Quick & Easy Sheet Pan Breadsticks an indulgence in culinary bliss!
Quick & Easy Sheet Pan Breadsticks Recipe FAQs
Can I use any type of flour for these breadsticks?
Absolutely! While all-purpose flour is recommended for the best texture, you can substitute it with whole wheat flour for a nuttier flavor. Just keep in mind that this may affect the overall texture, making it a little denser, but still delicious!
How should I store leftover breadsticks?
After your delightful meal, store any leftover breadsticks in an airtight container at room temperature for up to 1 week. If you want to keep them longer, wrap them in plastic wrap and place them in a freezer-safe bag. Properly frozen, they can last for up to 3 months, ready for your future cravings.
What’s the best way to thaw frozen breadsticks?
To thaw your frozen breadsticks, simply remove them from the freezer and allow them to sit at room temperature for a couple of hours or overnight in the fridge. Once thawed, you can pop them in a preheated oven at 350°F for about 10-15 minutes to restore their warm, chewy goodness.
How can I customize the toppings for my breadsticks?
The more, the merrier! Feel free to mix fresh minced garlic or your favorite herbs directly into the dough for an extra flavor boost. You can also swap the Parmesan cheese with other hard cheeses like Asiago or go cheese-free for a dairy-free option. Spice it up! Consider adding crushed red pepper flakes or herbs de Provence as an alternate topping.
What if my dough doesn’t rise?
No worries! If your dough doesn’t rise, it could be due to inactive yeast. Ensure your warm water is between 105°F – 115°F; too hot can kill the yeast, while too cool can leave it lethargic. If you suspect your yeast isn’t active, discard the mixture and start again with fresh ingredients. Remember, good dough needs attention!
Are these breadsticks pet-friendly?
It’s best to keep quick & easy Sheet Pan Breadsticks away from pets, as ingredients like garlic and certain cheeses can be harmful to them. Always check with your vet if you’re unsure about human foods for your furry friends.