
Mouthwatering Homemade Baked Mac and Cheese You’ll Love
Last Updated on March 13, 2026 by Miguel
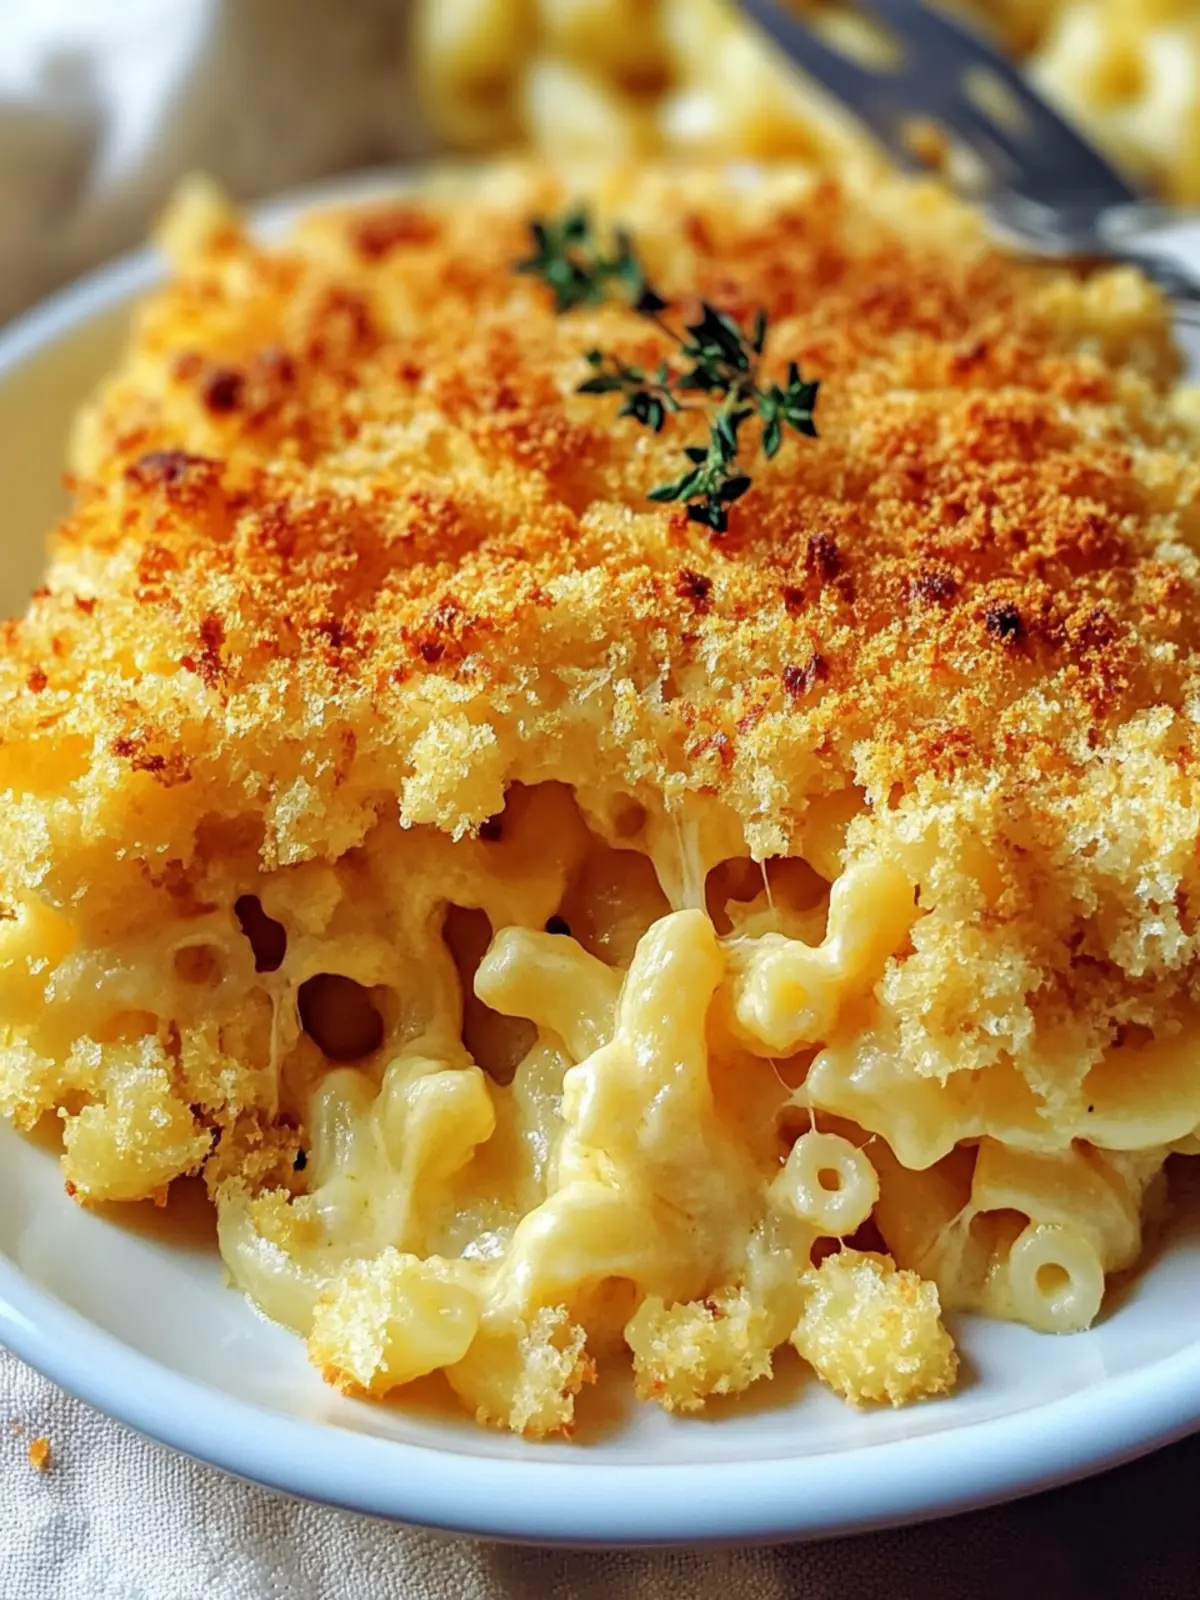
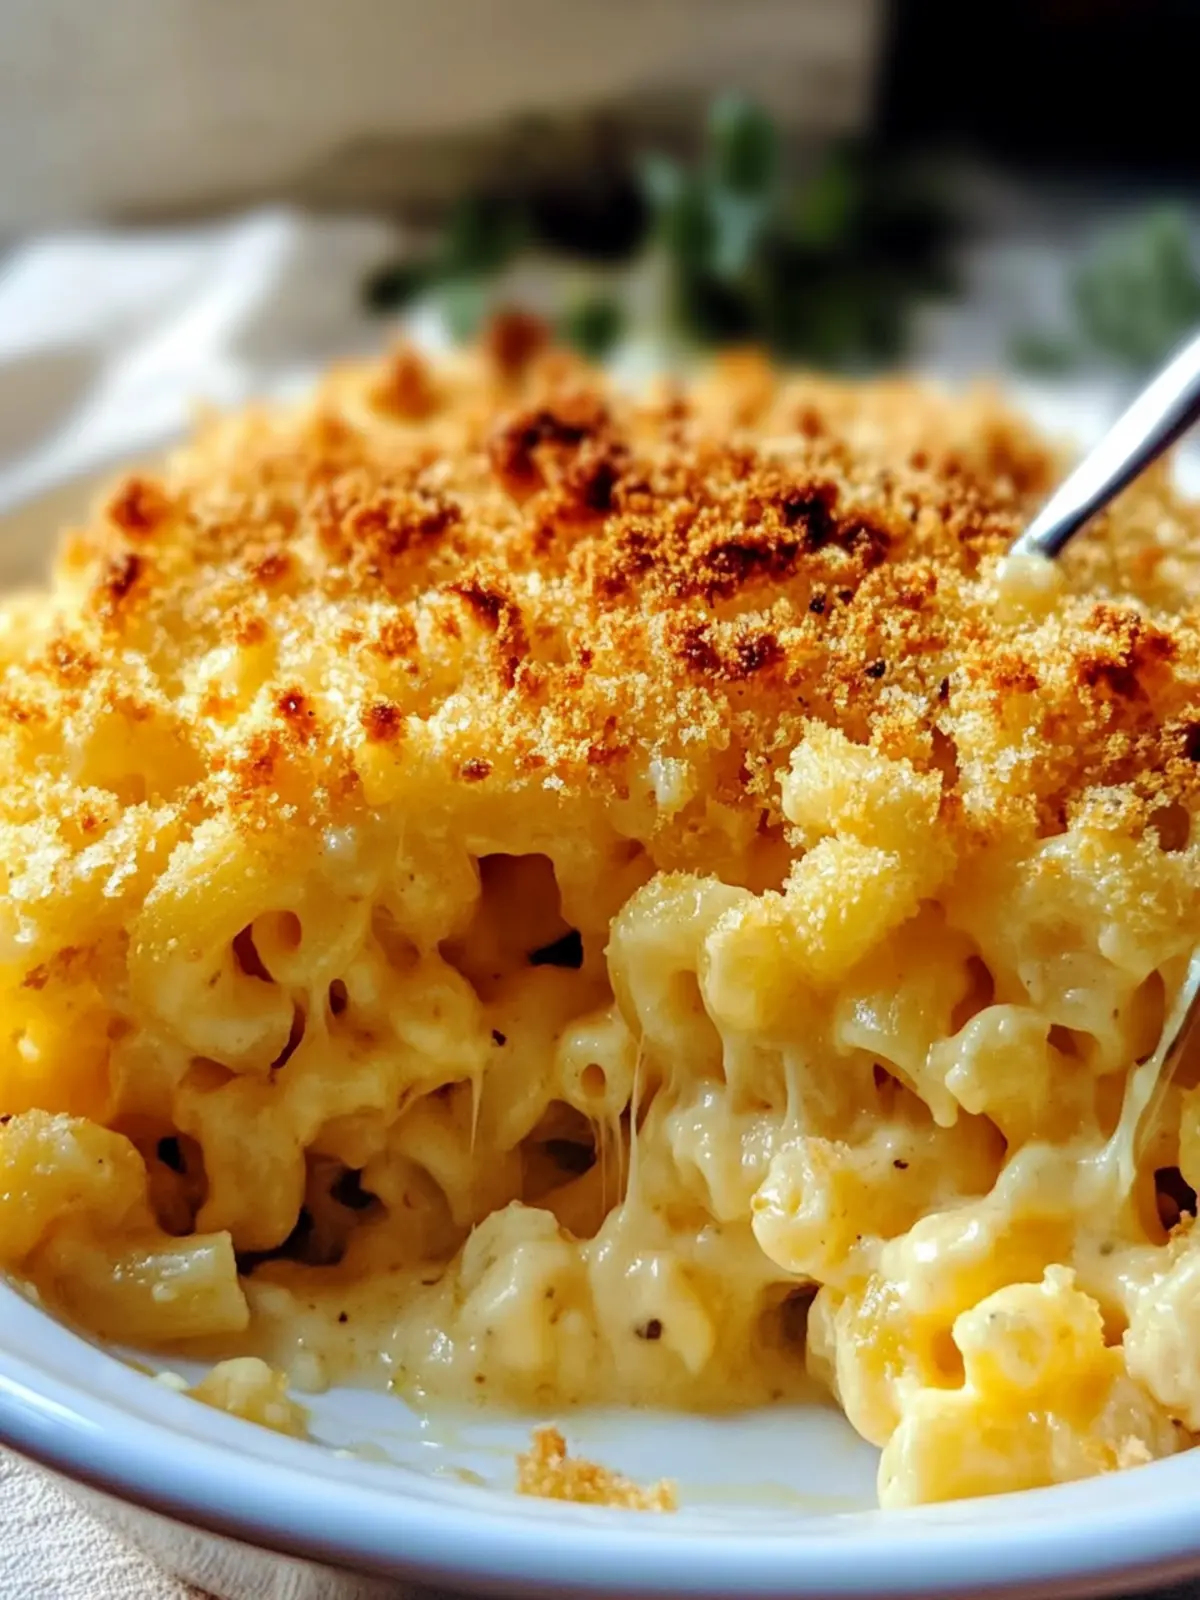
As the savory scent of bubbling cheese fills your kitchen, you know you’re about to indulge in something truly comforting. This isn’t just any mac and cheese; this is the ultimate homemade baked mac and cheese that elevates a classic to new heights. Picture creamy, gooey pasta enveloped in a symphony of cheddar and Gruyère, topped with a crispy panko crust that adds just the right crunch. Whether you’re whipping it up for a family gathering, a cozy night in, or to impress friends at a potluck, this dish brings everyone together around the table. Plus, it’s highly customizable! Toss in some vegetables or cooked chicken for a nutritious twist that keeps things interesting. So, let’s dive into this delectable recipe that transforms simple comfort food into a memorable experience for all ages!

Why is Homemade Baked Mac and Cheese a Must-Try?
Comforting Warmth: This dish radiates a cozy vibe that wraps around you like a warm hug, perfect for any occasion.
Rich, Cheesy Goodness: With a blend of sharp cheddar and creamy Gruyère, every bite is a cheese lover’s dream come true.
Versatile Delight: Easily swap in your favorite add-ins—like chicken or veggies—to tailor it to your taste and make it even more nourishing.
Crowd-Pleaser: Whether for a family dinner or a potluck, this dish appeals to all ages, inviting everyone to the table.
Easy Preparation: With simple steps to follow, you can impress guests without spending hours in the kitchen—your time is valuable!
For more tips on making mealtime specials, check out our section on easy weeknight dinners.
Ingredients for Homemade Baked Mac and Cheese
Here’s everything you need to whip up this cheesy delight!
For the Pasta
• Pasta (16 oz) – The essential base; use elbow macaroni or any pasta shape that you love.
For the Cheese Sauce
• Cheddar Cheese (approx. 4 cups, shredded) – The star of the show, providing that rich, cheesy flavor; sharp cheddar enhances the dish.
• Gruyère Cheese (optional, 2 cups) – Adds a delightful nutty taste and creaminess; feel free to substitute with more cheddar or mozzarella.
• Parmesan Cheese (½ cup) – Brings a salty, rich flavor to elevate your homemade baked mac and cheese; can be swapped with Pecorino Romano.
• Butter (6 tbsp) – Used to create the roux for a smooth cheese sauce; margarine works in a dairy-free version.
• Flour (1/3 cup) – Thickens the mixture for that creamy sauce; try gluten-free flour if desired.
• Whole Milk (3 cups) – The creamy foundation of the sauce; non-dairy milk or half-and-half works beautifully for a lighter take.
• Heavy Cream (1 cup) – Adds luscious richness; substitute with additional milk if you want to cut back on calories.
For the Topping
• Panko Breadcrumbs (1 cup) – Creates a delightful crunch on top; regular breadcrumbs can be used in a pinch.
• Paprika (¼ tsp) – Adds a hint of flavor and a beautiful color; feel free to omit or substitute with garlic powder for a twist.
• Salt & Pepper – Essential for enhancing the overall flavors; adjust to suit your taste preferences.
For Cooking
• Olive Oil (1 tbsp) – Helps prevent the pasta from sticking; any cooking oil will do if you don’t have olive oil on hand.
Now that you have your ingredients ready, you’re all set to create a comforting bowl of homemade baked mac and cheese that will have everyone coming back for seconds!
How to Make Homemade Baked Mac and Cheese
Preheat the oven to 350°F and gently grease a 3 to 4-quart baking dish. This step ensures even cooking and prevents sticking, giving you that perfect serving later!
Cook the pasta according to package instructions, stopping one minute before it’s al dente. Drain and set aside. This keeps the pasta firm since it will continue to cook in the oven.
Drizzle the cooked pasta with olive oil and set aside to cool slightly. This not only prevents the pasta from sticking but also adds a lovely flavor.
Melt the butter in a saucepan over medium heat, then whisk in the flour until it bubbles, about 1 minute. This creates a roux that thickens your cheese sauce beautifully.
Gradually whisk in the whole milk and heavy cream, cooking until the mixture is smooth and bubbles appear—around 2 minutes. Don’t forget to season with salt and pepper for that extra flavor kick!
Add the shredded cheese, two cups at a time, whisking until it’s completely melted and creamy. The key here is to take your time for a luxuriously gooey sauce!
Stir the cooled pasta into the cheese sauce, ensuring each piece is fully coated. This step is crucial for that fabulously cheesy experience in every bite.
Layer half of the mac and cheese into the greased baking dish, followed by a sprinkle of remaining cheese, then add the rest of the mac and cheese on top. Every layer counts for those rich flavors!
Combine the panko breadcrumbs, Parmesan, melted butter, and paprika in a bowl, then sprinkle this mixture generously over the top. This adds a crunchy texture to your baked masterpiece.
Bake for about 30 minutes until the top is golden brown and bubbly. Serve immediately and watch everyone gather around the table in anticipation!
Optional: For an extra touch, garnish with fresh herbs like parsley or chives before serving.
Exact quantities are listed in the recipe card below.
What to Serve with Homemade Baked Mac and Cheese?
Pairing this creamy delight with the right sides can turn your meal into a heartwarming feast!
Fresh Green Salad: A crisp salad with mixed greens and a tangy vinaigrette cuts through the richness, refreshing your palate. It’s the ideal light contrast to the cheese.
Garlic Bread: Warm, buttery garlic bread adds a crunchy texture and aromatic flavor that makes every bite even more divine. Perfect for dipping into the cheesy goodness!
Roasted Vegetables: Caramelized carrots or a medley of seasonal veggies balance the heaviness while adding nutrition, making your meal both wholesome and delicious.
Braised Kale: The earthy flavors of braised kale with a hint of lemon uplift the dish, offering a nutritious side that enhances your dining experience.
Coleslaw: A creamy or vinegar-based coleslaw offers a refreshing crunch that complements the indulgence of your homemade baked mac and cheese splendidly.
Apple Crisp: Finish your meal with a warm apple crisp! The sweet, cinnamon-spiced dessert pairs wonderfully with the savory main dish, offering a delightful end to your feast.
Sparkling Lemonade: A glass of bubbly lemonade provides a refreshing contrast to the rich flavors, making every bite of pasta feel lighter and more enjoyable.
Expert Tips for Homemade Baked Mac and Cheese
Cheese Selection: Choose a good blend of cheeses for depth of flavor; sharp cheddar and Gruyère create the best taste in your homemade baked mac and cheese.
Pasta Perfection: Always cook the pasta just shy of al dente. It will continue cooking in the oven, ensuring a perfectly textured dish.
Smooth Sauce: Whisk in milk gradually and allow the roux to bubble to achieve a smooth cheese sauce, avoiding lumps or separation.
Layering Matters: When assembling, layer the mac and cheese and cheese mixtures to guarantee melty, cheesy goodness throughout without dry patches.
Golden Topping: Ensure the panko mixture is well combined for an even, crunchy topping that contrasts beautifully with the creamy interior—this is where the magic happens!
How to Store and Freeze Homemade Baked Mac and Cheese
Fridge: You can store leftover homemade baked mac and cheese in an airtight container for up to 3 days. Make sure it has cooled completely before sealing it tight.
Freezer: To freeze, wrap individual portions tightly in plastic wrap and then in aluminum foil. This will keep them for up to 3 months. Thaw in the fridge overnight before reheating.
Reheating: When ready to enjoy, reheat in the oven at 350°F for about 20-25 minutes, covered with foil to retain moisture. For microwave heating, use a microwave-safe dish and cover it to avoid drying out the cheesy goodness.
Make-Ahead Tips: You can prepare this dish ahead of time and store it unbaked in the fridge for up to 2 days. Just pop it in the oven when you’re ready to serve!
Homemade Baked Mac and Cheese Variations
Feel free to explore these delightful twists on your favorite comfort food, making it uniquely yours!
Vegetable Boost: Add sautéed mushrooms or roasted peppers to pack in flavor and nutrients; they blend beautifully with the creamy sauce.
Protein Power: Toss in shredded cooked chicken, ham, or even crumbled bacon for a heartier meal; it satisfies cravings while adding texture.
Gourmet Cheese: Experiment with various cheese combinations like gouda or fontina for richer layers of flavor and a decadent melt.
Gluten-Free: Swap regular pasta for gluten-free pasta and use a gluten-free flour blend for the roux; this ensures everyone can enjoy it!
Creamy Spin: Swap half of the milk with sour cream or cream cheese for an ultra-creamy texture that takes comfort food to another level.
Heat It Up: Mix in diced jalapeños or a sprinkle of cayenne pepper for a spicy kick; the heat pairs delightfully with the cheesiness.
Herb Infusion: Fresh herbs such as thyme, rosemary, or parsley can elevate the dish; they add a pop of freshness that brightens up each bite.
Nutty Flavor: Stir in a handful of toasted nuts, like pecans or walnuts, on top before baking for crunch and a hint of nutty richness.
Make Ahead Options
These Homemade Baked Mac and Cheese are perfect for busy weeknights! You can prepare the entire dish up to 24 hours in advance by following the recipe through layering it in the baking dish, then covering it tightly with plastic wrap before refrigerating. This keeps the flavors mingling and the pasta from drying out. If you desire to make it even earlier, you can assemble it and freeze it for up to 3 months—just remember to thaw it overnight in the refrigerator before baking. When ready to serve, simply remove it from the fridge or freezer, uncover, and bake as instructed, ensuring it’s heated through for that delicious creamy goodness. Enjoy the convenience of meal prep while savoring every comforting bite!
Homemade Baked Mac and Cheese Recipe FAQs
What type of pasta should I use for homemade baked mac and cheese?
Absolutely! You can use elbow macaroni, which is classic, or any shape that you prefer like cavatappi or fusilli. Just ensure that the pasta is sturdy enough to hold the creamy cheese sauce.
How should I store leftover homemade baked mac and cheese?
Store it in an airtight container in the fridge for up to 3 days. It’s best to let the mac and cheese cool to room temperature before sealing it to retain its creamy texture.
Can I freeze homemade baked mac and cheese?
Yes, you can freeze it! Portion the mac and cheese into individual servings, wrap tightly in plastic wrap, and then wrap in aluminum foil. This method will keep it fresh for up to 3 months. When you’re ready to enjoy, thaw it in the fridge overnight before reheating.
What are some troubleshooting tips if my cheese sauce is lumpy?
If you find your sauce has lumps, it’s likely the cheese wasn’t melted evenly. To fix it, return the sauce to low heat, and whisk continuously until it smooths out. Make sure always to shred your cheese finely for easier melting and add it slowly to the roux, allowing each addition to melt fully before adding more.
Are there any dietary considerations I should be aware of?
If you’re catering to specific dietary needs, you can easily adapt the recipe! For a gluten-free version, use certified gluten-free pasta and flour. To make it dairy-free, substitute the cheeses with dairy-free alternatives and use almond or oat milk in the sauce. Always check labels to avoid allergens if you’re serving to friends or family with allergies.
How can I make homemade baked mac and cheese ahead of time?
I often prepare this dish in advance and store it unbaked in the fridge for up to 2 days. To do this, simply complete the recipe up to the point of baking, cover it tightly with foil, and refrigerate. When you’re ready to serve, follow your baking instructions directly from the fridge, adding a few extra minutes to ensure it heats thoroughly.