
Savory Mini Mushroom & Gruyère Pot Pies for Cozy Nights
Last Updated on March 13, 2026 by Miguel
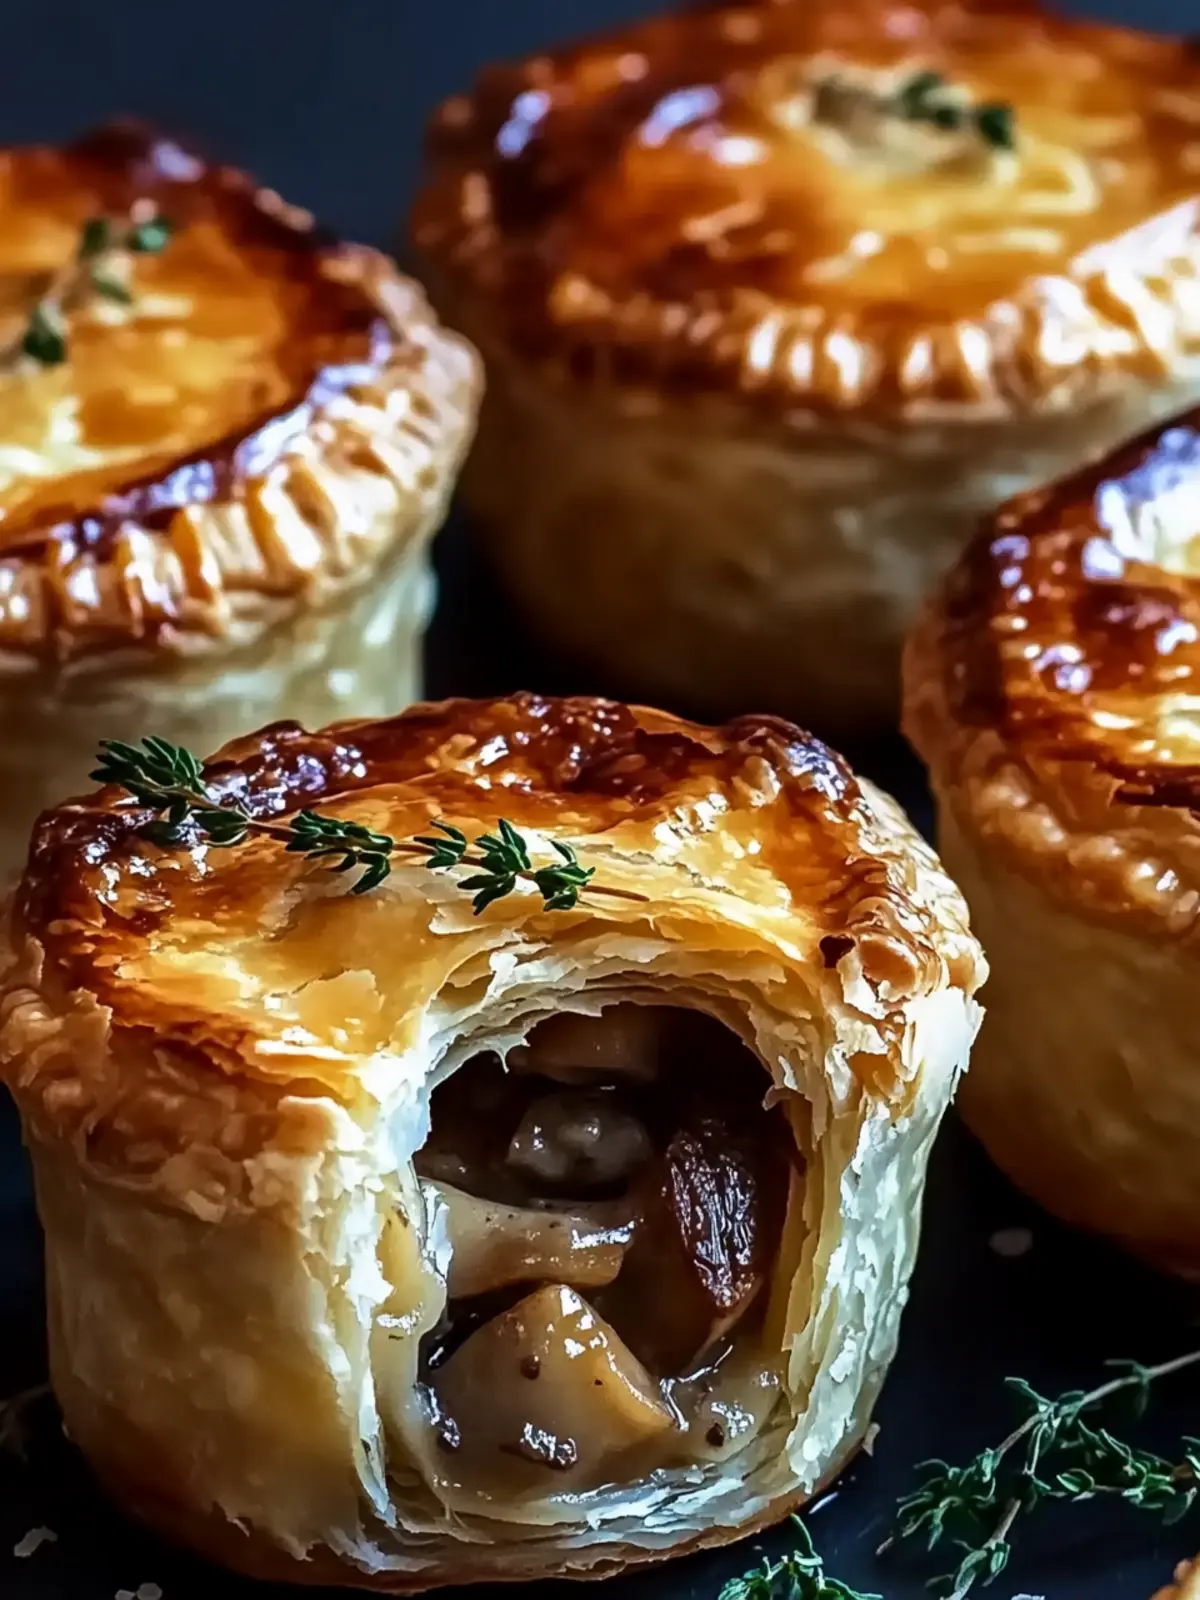
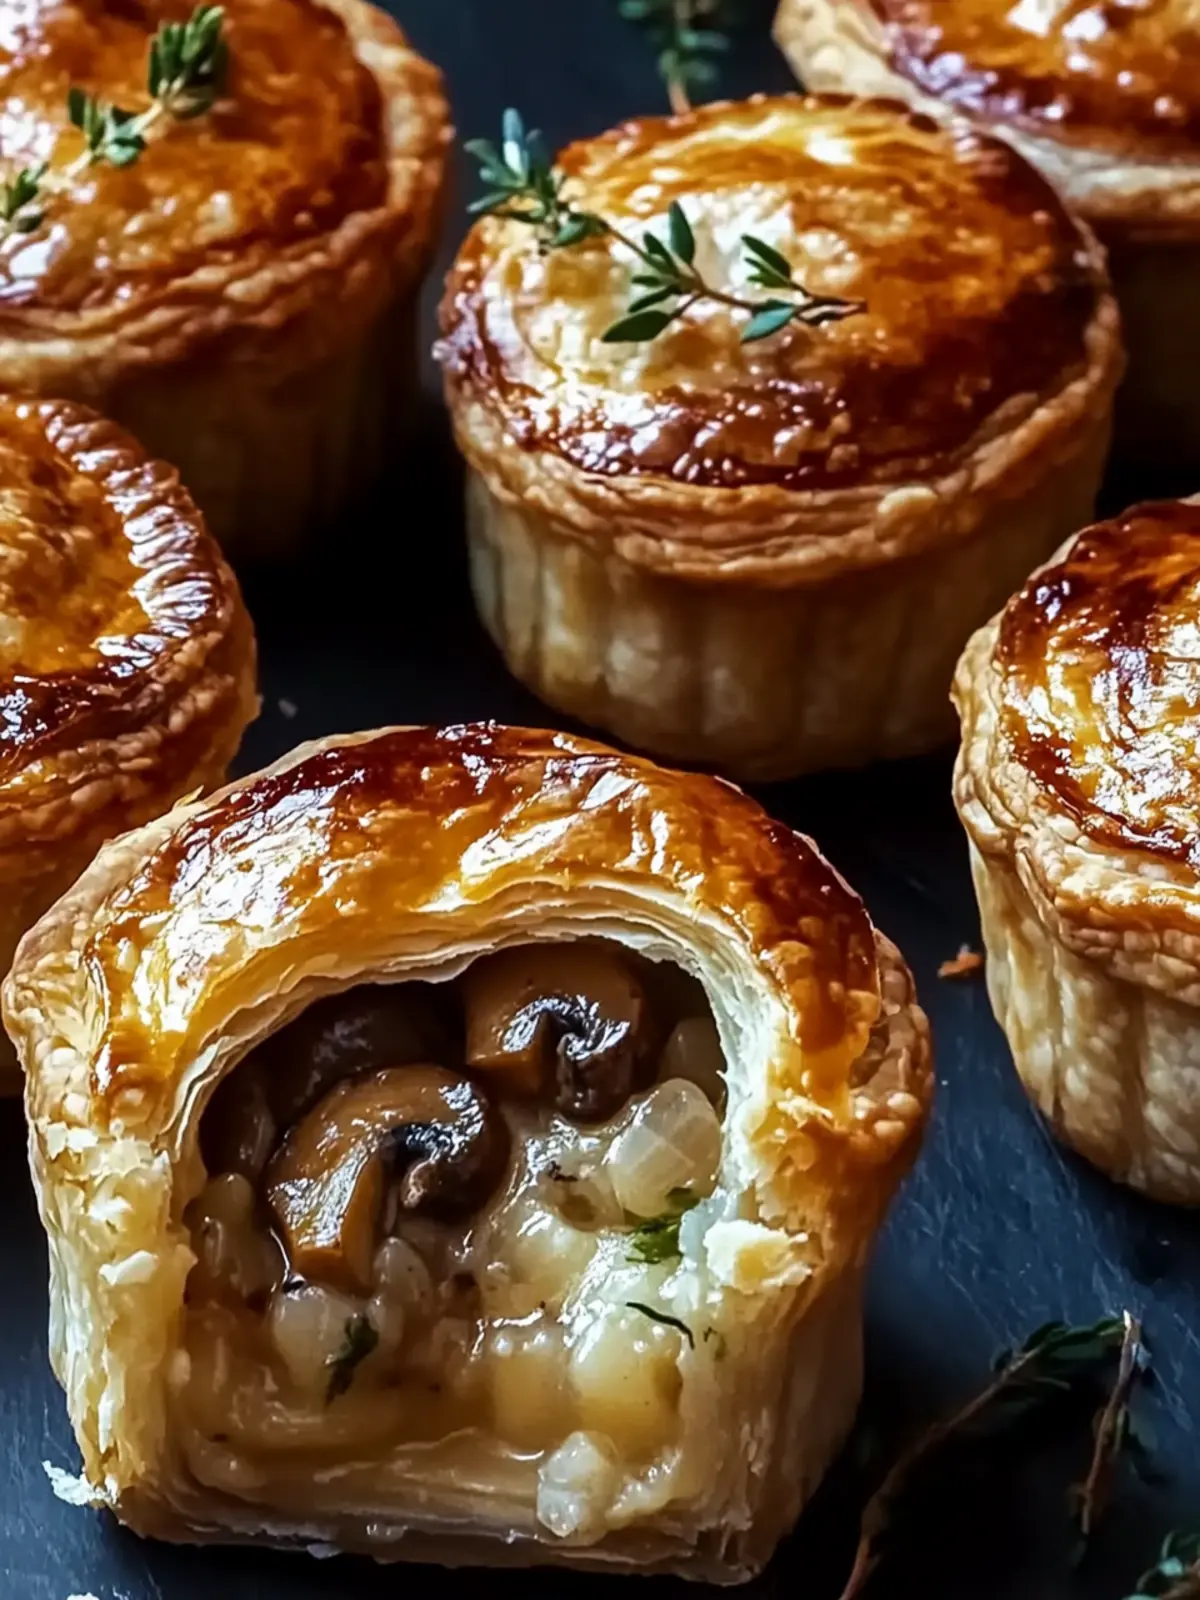
Picture this: a chilly evening, and the warmth of the kitchen envelops you as you prepare to savor a delightful meal. The enticing aroma of sautéed mushrooms mixed with the nutty notes of Gruyère cheese fills the air. This is not just any dish; it’s the heartwarming Mini Mushroom & Gruyère Pot Pies that promise to elevate your comfort food game! These little pies are the quintessential blend of elegance and coziness, perfect for a quiet dinner at home or a special gathering with friends.
I stumbled upon this recipe while exploring vegetarian options that still deliver on rich flavors. With flaky puff pastry encasing a velvety, umami-packed filling, these individual servings are truly a culinary hug. Plus, the versatility of these pot pies means you can customize the filling to your heart’s content—whether you’re a mushroom lover or want to sneak in some spinach. So let’s dive in and create a dish that will surely impress your taste buds and leave you with a smile!
Why love Mini Mushroom & Gruyère Pot Pies?
Comfort in every bite: Each mini pot pie offers a warm hug, perfect for chilly nights or cozy gatherings.
Flavor explosion: Umami-rich mushrooms paired with nutty Gruyère create an unforgettable taste experience.
Versatile usage: Customize with your favorite veggies or cheeses to craft your ideal filling.
Impressive presentation: The golden puff pastry crust not only looks stunning but also adds a delightful crunch.
Effortless preparation: Quick to assemble and perfect for meal prepping or entertaining guests—just bake and serve!
Elevate your next dinner with these individual gems; they’ll have everyone raving about your cooking!
Mini Mushroom & Gruyère Pot Pie Ingredients
For the Filling
• Unsalted Butter (2 tablespoons) – Adds richness and flavor. Substitute with plant-based butter for a vegan option.
• Olive Oil (1 tablespoon) – Aids in sautéing without burning. Can use any neutral oil.
• Shallot (1 small, finely chopped) – Provides aromatic sweetness to the filling. Use yellow onion if unavailable.
• Garlic (2 cloves, minced) – Enhances savory depth. Adjust quantity based on preference.
• Mixed Mushrooms (500 g, sliced) – Main ingredient, offering umami. Use a variety like cremini, shiitake, or oyster for best flavor.
• Fresh Thyme Leaves (1 tablespoon) – Adds herbal notes and freshness. Dried thyme can be used, in lesser amounts.
• Salt and Black Pepper – Essential for seasoning. Adjust to taste.
• All-Purpose Flour (2 tablespoons) – Thickens the filling. Can substitute with gluten-free flour if needed.
• Dry White Wine (120 ml) – Adds acidity; enhances flavor. Replace with vegetable broth for a non-alcoholic option.
• Whole Milk (240 ml) – Creates a creamy sauce. Plant milk can be used for a vegan version.
• Grated Gruyère Cheese (100 g) – Contributes creaminess and savory flavor. Substitute with sharp white cheddar or a vegan melting cheese.
• Dijon Mustard (1 teaspoon, optional) – For a tangy depth. Omit if desired.
For the Crust
• Puff Pastry (1 sheet, thawed) – Forms a flaky crust. Alternatives include pie crust or rough puff dough.
• Egg (1, beaten) – For egg wash, adds shine to the crust. Skip for a vegan option.
• Extra Thyme Leaves – Garnish for added aroma and presentation.
Elevate your comfort food experience with these delicious Mini Mushroom & Gruyère Pot Pies!
How to Make Mini Mushroom & Gruyère Pot Pies
Preheat your oven to 200°C (400°F) and grease six ramekins. This ensures your pot pies won’t stick and will bake evenly, giving you that perfect golden crust.
Sauté the shallots: In a skillet, heat the butter and olive oil over medium heat. Once melted, add the finely chopped shallots and cook until soft and translucent, about 5 minutes, then add in the minced garlic.
Cook the mushrooms: Add the sliced mushrooms to the skillet and cook until the moisture from the mushrooms evaporates, roughly 8-10 minutes. Season with fresh thyme, salt, and pepper for that aromatic flavor.
Thicken the mixture: Sprinkle the flour over the mushroom mixture and stir well, cooking for 1 minute. Then add the white wine and let it reduce until nearly evaporated, which should take another 2-3 minutes.
Create the creamy filling: Pour in the whole milk while stirring continuously. Cook until the sauce thickens, about 3-4 minutes, then mix in the grated Gruyère cheese and optional mustard until melted and smooth.
Cool it down: Allow the filling mixture to cool slightly. Meanwhile, cut the thawed puff pastry into 6 rounds larger than your ramekins to form the pie crusts that will encase your filling.
Assemble the pot pies: Fill each ramekin with the warm mushroom mixture, top with a round of pastry, and firmly seal the edges. Remember to cut a few slits in the pastry to allow steam to escape during baking.
Brush with egg wash: Use the beaten egg to brush the top of each pastry, giving it a shiny finish, and sprinkle with some extra thyme for good measure.
Bake in the preheated oven for 18-22 minutes. You’ll know they’re ready when the pastry is golden brown and puffed up beautifully.
Rest before serving: Let the pot pies cool for about 5 minutes. This waiting period enhances the flavors and makes them easier to handle.
Optional: Serve with a simple arugula salad for a fresh contrast.
Exact quantities are listed in the recipe card below.

Mini Mushroom & Gruyère Pot Pie Variations
Customize your Mini Mushroom & Gruyère Pot Pies and enjoy a delightful twist on a classic favorite!
- Cheese Swap: Replace Gruyère with sharp white cheddar or Fontina for a different flavor profile.
- Veggie Boost: Add fresh spinach or sautéed kale to the filling for a nutritional upgrade.
- Herb Alternates: Experiment with rosemary or sage alongside thyme for a unique herbal touch.
- Spice it Up: Incorporate a pinch of red pepper flakes for a mild heat that complements the creaminess.
- Whole Wheat Crust: Use whole wheat puff pastry for a nutty flavor and added health benefits.
- Lighter Version: Substitute half the butter in the filling with Greek yogurt for a creamy yet lighter mixture.
- Mushroom Medley: Try a mix of exotic mushrooms like maitake or enoki for a deeper umami explosion.
- Nutty Crunch: Top with a sprinkling of toasted pine nuts before baking for added texture and flavor contrast.
Allow your creativity to shine through as you make these pot pies your own!
Make Ahead Options
These Mini Mushroom & Gruyère Pot Pies are perfect for meal prep enthusiasts! You can prepare the mushroom filling up to 3 days in advance by sautéing the ingredients, letting them cool, and then storing them in an airtight container in the refrigerator. For even more convenience, assemble the pot pies up to 24 hours ahead, placing unbaked pies in the fridge. To ensure the quality remains just as delicious, brush the pastry with egg wash right before baking. When you’re ready to enjoy them, simply bake directly from the fridge for an effortless gourmet experience that saves time on busy weeknights!
What to Serve with Mini Mushroom & Gruyère Pot Pies?
Complement your pot pies with delightful additions that elevate your meal into a cozy feast.
Crisp Arugula Salad: The peppery freshness of arugula with a zesty lemon vinaigrette cuts through the richness, balancing the meal perfectly.
Roasted Root Vegetables: A medley of caramelized carrots, parsnips, and beets adds earthy sweetness and vibrant colors to your table, enhancing the comforting theme.
Garlic Bread: Crunchy, buttery garlic bread is a classic pairing. It’s perfect for soaking up the creamy filling left in your ramekins.
Creamy Tomato Soup: A warm bowl of smooth tomato soup provides a comforting contrast to the flaky pot pies, uniting classic comfort food elements.
Imagine enjoying these Mini Mushroom & Gruyère Pot Pies alongside a hearty soup for a satisfying, heartwarming dinner experience.
Herb-Infused Quinoa: Light, fluffy quinoa cooked with fresh herbs complements the rich filling, adding a nutritious touch to your plate.
White Wine: Brighten your meal with a chilled glass of dry white wine. Its acidity pairs beautifully with the creamy cheese and umami mushrooms.
These thoughtful pairings will not only enhance your dining experience but also create a warm, inviting atmosphere perfect for sharing with loved ones.
Expert Tips for Mini Mushroom & Gruyère Pot Pies
Prep Ahead: Prepare the mushroom filling up to 2 days in advance; this thickens the flavors and saves you time on the day of baking.
Mushroom Mix: Use a variety of mushrooms instead of just white buttons to deepen the umami flavor of the Mini Mushroom & Gruyère Pot Pies.
Crust Care: Ensure your puff pastry is well-thawed for even baking; a chilled pastry might not puff up as beautifully.
Egg Wash: Brushing the pastry with beaten egg gives it a golden, shiny finish; if vegan, you can omit this step for a lovely rustic look.
Storage Solutions: Assemble and freeze unbaked pot pies for up to a month; bake from frozen, adding an extra 5-10 minutes to the cooking time for perfect results.
Versatile Variations: Experiment with different cheeses or add your favorite veggies for a personalized take on these comfort food gems!
How to Store and Freeze Mini Mushroom & Gruyère Pot Pies
Fridge: Store any leftover Mini Mushroom & Gruyère Pot Pies in an airtight container for up to 3 days. Reheat in the oven for a few minutes to regain that crispiness.
Freezer: You can freeze unbaked pot pies for up to 1 month. Simply wrap each pot pie tightly with plastic wrap and aluminum foil. Bake from frozen, adding 5-10 minutes to the cooking time.
Reheating: If you’ve baked pot pies and have leftovers, reheat them in the oven at 180°C (350°F) for about 10-15 minutes until warmed through. Avoid the microwave to maintain the flaky texture.
Make-Ahead Tip: Prepare the filling in advance and store it in the fridge for up to 2 days. Assemble the pot pies just before baking to enjoy fresh, comforting treats!
Mini Mushroom & Gruyère Pot Pies Recipe FAQs
How do I choose ripe mushrooms for my pot pies?
Absolutely! When selecting mushrooms, look for ones that are firm, plump, and without any dark spots or wrinkles. Fresh mushrooms should exhibit a clean smell, not an overly strong odor. Mixed varieties like cremini, shiitake, and oyster will offer a rich umami flavor, elevating your Mini Mushroom & Gruyère Pot Pies.
What’s the best way to store leftover Mini Mushroom & Gruyère Pot Pies?
Leftovers can be stored in an airtight container in the fridge for up to 3 days. When you’re ready to enjoy them again, simply reheat in the oven at 180°C (350°F) for about 10-15 minutes to regain that delightful crispy crust. I recommend avoiding the microwave to keep the texture perfect!
Can I freeze Mini Mushroom & Gruyère Pot Pies?
Yes, you can! To freeze unbaked pot pies, wrap each one tightly in plastic wrap and then in aluminum foil. They’ll maintain their quality for up to 1 month. When you’re ready to bake, place them in a preheated oven directly from the freezer, adding 5-10 minutes to the cooking time, until golden and puffed.
What should I do if my filling is too runny?
If your filling turns out too runny, don’t worry! You can thicken it by simmering for a few extra minutes on low heat to evaporate some liquid. Alternatively, mix 1 tablespoon of cornstarch with 2 tablespoons of cold water to create a slurry, stir it into the filling, and cook until thickened. This will ensure a creamy, yet stable filling for your Mini Mushroom & Gruyère Pot Pies!
Is this recipe suitable for vegans or those with allergies?
Absolutely! To make the pot pies vegan, simply substitute the Gruyère cheese with a plant-based cheese, use firm tofu instead of milk, and skip the egg wash or use a plant-based alternative. Always check for allergies by ensuring you select ingredients that meet your dietary needs, such as gluten-free flour if you’re avoiding gluten.
How long can I prepare the filling ahead of time?
You can prepare the filling up to 2 days in advance! Just store it in an airtight container in the fridge. This not only saves you time on baking day but also enhances the flavors, making your Mini Mushroom & Gruyère Pot Pies irresistibly delicious. When you’re ready to make them, let the filling cool before assembling.